Homeowners and facility managers often wonder why a perfectly functional garage door suddenly refuses to close or keeps reversing halfway. In many cases, the culprit is a tiny photo‑eye or safety beam that lost alignment, gathered dust, or stopped receiving power. This in‑depth guide explains how to troubleshoot garage door sensors, helps you spot a garage door sensor malfunction early, and shows when it is time to involve a professional. Following the advice below can save you the cost of emergency service calls and protect the people and property that pass under your door every day.

Understanding How Garage Door Sensors Work
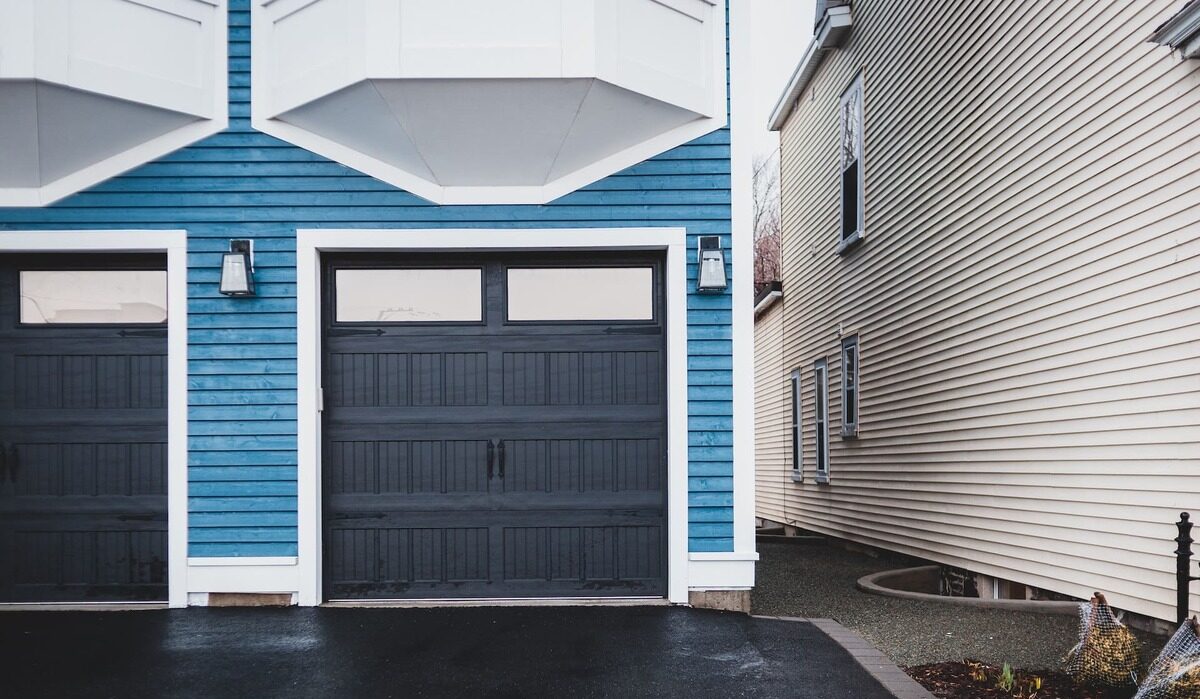
A modern overhead door relies on a pair of low‑voltage photo‑electric eyes to prevent accidental damage or injury. The devices, mounted near the floor on each side of the opening, send an invisible infrared beam across the threshold. If anything blocks that beam, the opener logic board immediately commands the motor to stop and reverse. Knowing how does garage door sensor work is the first step toward solving most faults.
What They Do and Why They Matter
Garage door safety sensors became mandatory in the United States after 1993. Their primary purpose is to stop a closing door from crushing an object, a pet, or a child. They therefore carry legal weight and insurance implications. A non‑working sensor for more than a few hours exposes you to liability, especially in commercial facilities that experience heavy foot traffic.
Basic Sensor Components
Each manufacturer uses different housings, but the electronics remain similar. A transmitter eye emits the infrared beam, while the receiver eye waits to detect it. Both sit in adjustable brackets, powered by a low‑voltage wire pair that runs back to the opener head. A small LED on each unit reports status: steady green for “beam clear,” steady amber for “beam received,” and flashing codes for errors. Understanding these parts helps you troubleshoot garage door sensor faults quickly.
garage door installation services almost always include a fresh set of sensors, because a precise alignment during the initial setup prevents warranty claims later.
Common Signs of Garage Door Sensor Problems
Even a perfect opener will misbehave if the photo‑eyes cannot talk to each other. The following warnings suggest that the sensor for garage door not working scenario is close at hand and requires attention.
Door Not Closing
You press the wall button, hear the motor hum, and then the door returns to the open position. That behavior points toward interrupted infrared communication. Never force the door shut without investigating; you risk bending panels or stripping the drive gear.
Flashing Sensor Lights
Most brands flash their LED indicators whenever the beam is blocked or misaligned. A steady blink usually means “beam not detected,” while rapid double‑blinks can indicate low voltage. Observing the pattern keeps you ahead of larger garage door sensor malfunction issues.
Random Door Reversals
A door that begins closing normally but suddenly reverses mid‑travel suggests vibration‑induced misalignment. Check hinges, tracks, and the opener mounting for looseness, stalling only after you troubleshoot garage door sensor causes.garage door panel replacement often follows long‑term sensor neglect, because repeated impacts warp the lower sections.

How to Troubleshoot Garage Door Sensor Issues
Before you grab a ladder or call a technician, run through the practical steps below. This checklist covers 80 percent of sensor failures and will help you master sensors on garage doors troubleshooting without specialized tools.
Check for Alignment
- Stand beside the door and inspect both eyes. The lenses must face each other perfectly.
- Loosen the mounting wing nut, adjust until both LEDs shine solid, then tighten carefully.
- Cycle the door twice to confirm that alignment solved the issue.
Tip: Vibrations from daily use can slowly tilt a bracket. Adding lock washers after realigning keeps it fixed.
Clean the Sensor Lenses
Dust, cobwebs, or leaves can scatter the infrared beam. Wipe each lens with a microfiber cloth dampened with isopropyl alcohol. Avoid paper towels, which leave lint. Once clean, verify functionality. Many owners find that a simple wipe ends their quest to troubleshoot garage door safety sensors.
Inspect for Wiring Damage
Rodents, lawn equipment, or UV exposure can nick the low‑voltage cable. Follow the wire from the sensor to the opener head, looking for cuts or crushed insulation. Repair small nicks with heat‑shrink butt connectors. Replace the entire run if you observe copper corrosion.
Common wiring trouble spots
- Staple punctures behind finished drywall
- Frayed cable where it bends with the track
- Loose terminal screws at the logic board
Test the Power Supply
Use a multimeter set to DC volts. Place the probes on the sensor terminals and confirm 5–12 V DC depending on your opener brand. A reading near zero indicates a failed transformer or a blown control‑board fuse. Do not back‑feed the circuit; instead, arrange factory service.
Each step above fits into the broader task of troubleshooting garage door sensor problems without guesswork. Document your findings so you know whether conditions improve or worsen over time.
Marco garage door specialists recommend completing this checklist every six months, especially in coastal or desert climates.
When to Call a Professional Technician
DIY fixes stop making sense when the repair requires proprietary parts, ladder work beyond your skill level, or safety certifications. A licensed pro brings calibrated tools and training. They can realign a torsion spring drum that knocks sensors out of line each time the door moves, or trace intermittent logic‑board faults.
Call a technician if:
- You replace a cable yet the sensors still flash.
- The opener hums but the door refuses to move.
- You suspect the trolley carriage is cracked.
- Multiple power supply tests show inconsistent voltage.
Commercial properties must document semi‑annual inspections for liability insurance. Contracting a specialist completes that paperwork.
Preventative Tips to Avoid Future Sensor Problems
Small habits prevent costly downtime and keep sensors not working on garage door headlines out of your maintenance log.
- Sweep the sensor area weekly to remove dust and leaves.
- Tighten bracket hardware during every seasonal change.
- Limit direct sunlight by installing a small visor if the beam path faces west.
- Label the low‑voltage cable every two feet to spot chew marks fast.
- Add a surge protector to the opener outlet.
These preventive steps reduce the frequency of troubleshoot garage door sensor sessions and extend the life of your entire opener system.
Conclusion
Understanding how to troubleshoot garage door sensors empowers you to fix minor issues immediately and recognize when professional intervention is necessary. By mastering these checks, you avoid downtime, extend gear lifespan, and keep every closing cycle safe for family, staff, and valuable assets.
Stay consistent, log every adjustment, and leverage the support of certified technicians when challenges exceed your toolkit. Combining diligence with expert backup guarantees years of dependable performance from even the busiest overhead doors.